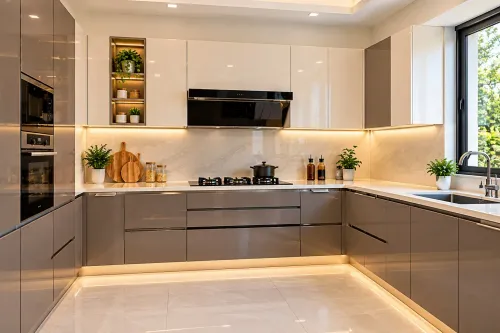
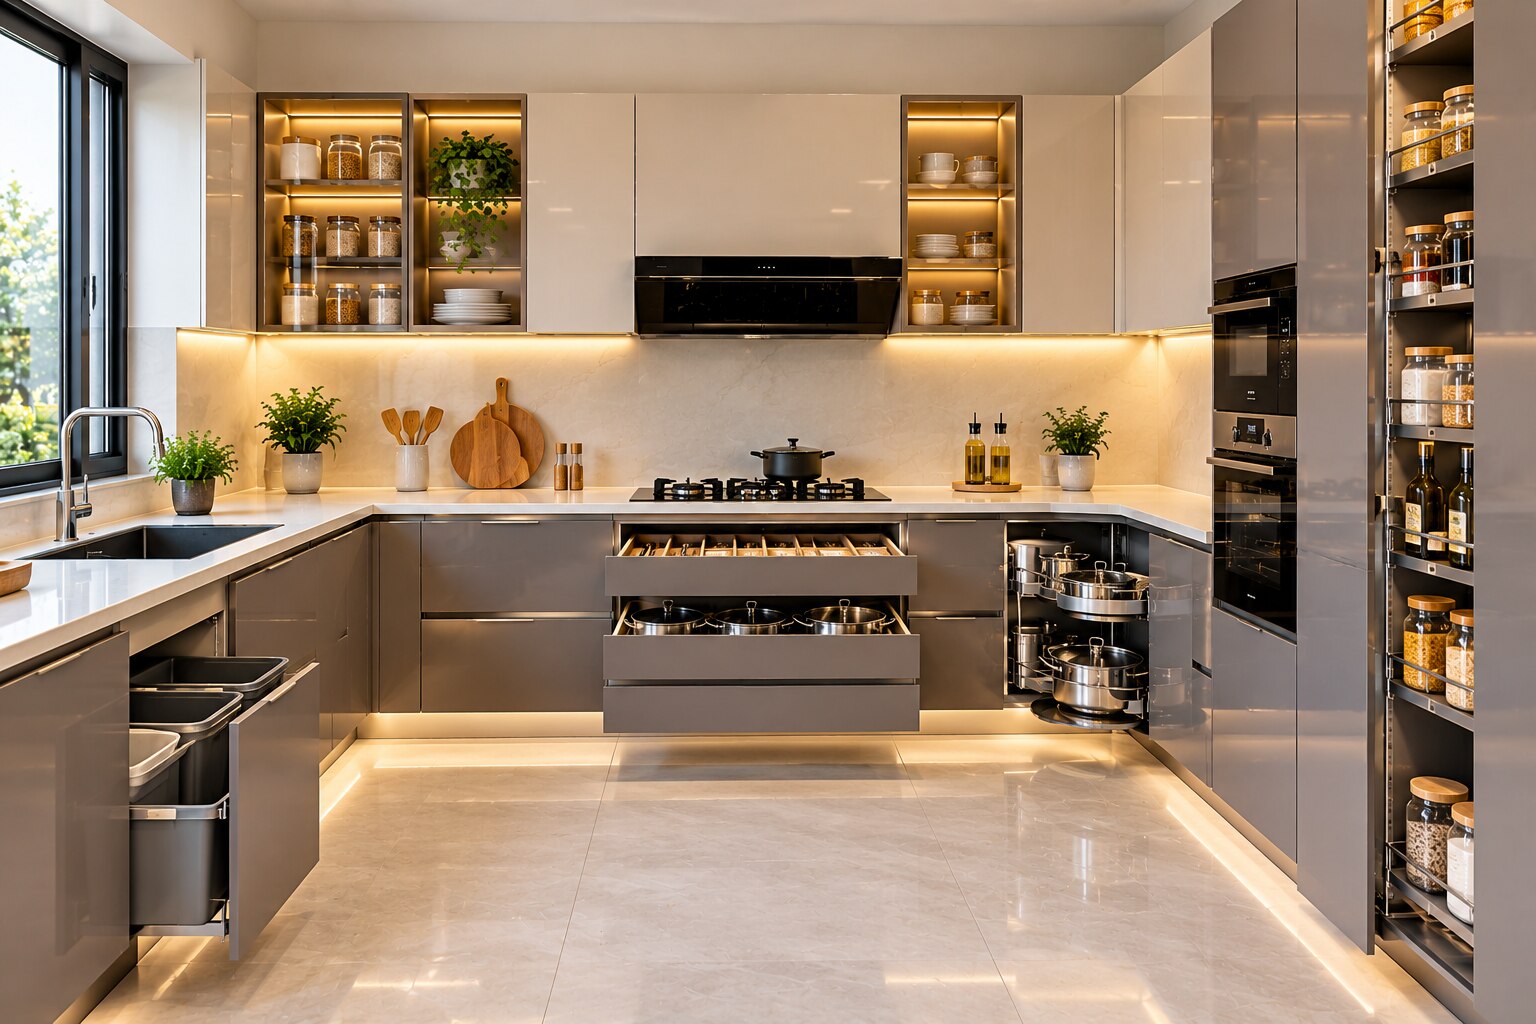
A kitchen plan fails when cabinet sizes are chosen before anyone records how the room is used, what is cooked, or where each appliance and ingredient belongs. By the end, you will have a measured, zone-by-zone brief that can be tested for circulation, storage capacity, ergonomics and manufacturing accuracy.
Key takeaways
- Inventory cookware, ingredients and appliances before choosing cabinet sizes.
- Keep prep, cooking and washing zones connected with clear worktop space.
- Measure appliance doors, walkways and ventilation requirements before ordering cabinetry.
- Price each storage zone, hardware choice and appliance connection in the brief.
Start With Cooking Habits, Users and a Real Storage Inventory
Choose the kitchen layout only after you understand who cooks, what they cook and what they reach for every day. Record cooking habits, meal frequency, cuisine, appliance use and number of users. Note whether one person cooks alone, two people prepare food together, or family members regularly enter to fetch drinks and snacks.
A traditional work triangle suits one cook; task zones work better when several people share the room.
Make a physical storage inventory before selecting cabinet modules. Measure each item’s width, height, depth and weight, then record how often you use it.
- Pressure cookers, kadhais, tawas and serving vessels
- Mixer-grinder, food processor and other countertop appliances
- Spice containers, rice and flour containers, and tall oil bottles
- Everyday crockery, cookware, dry goods, cleaning supplies and waste bins
- Rarely used platters, festive cookware and bulk provisions
| Cooking pattern | Planning response | Risk if ignored |
|---|---|---|
| One cook, occasional meals | Prioritise a compact refrigerator-sink-preparation-hob sequence | Excess cabinetry wastes space |
| Daily frying, grilling or wok cooking | Plan strong hood capture, suitable ducting and nearby cookware storage | Smoke, grease and countertop clutter |
| Two regular cooks | Provide two preparation positions or a wide shared surface, with separate access to sink, refrigerator and waste | People collide behind the hob |
| Children or passers-through | Keep refrigerator and serving access outside the cooking path | Open doors interrupt food preparation |
| Accessible user | Design a work surface no higher than 34 inches with clear approach space | Standard 36-inch counters become unusable |
Map Work Zones, Room Measurements and Layout Clearances
Choose the layout by measuring clear floor space, not by choosing cabinet modules first. Record wall lengths, door swings, windows, services, columns and appliance depths in your room measurements. Then mark task zones for food storage, washing, preparation, cooking, serving and cleaning.
The work triangle remains a useful check for one cook, but zones prevent crossings when several people use the kitchen.
| Option | What it means | When it applies |
|---|---|---|
| Straight | All cabinets sit on one wall | Narrow rooms; keep the refrigerator at an end, not between sink and hob |
| L-shaped | Cabinets occupy two adjoining walls | Most flexible for one or two cooks; protect the corner from blocking the main route |
| U-shaped | Cabinets occupy three sides | Generous rooms; reserve a 48-inch work aisle or the centre becomes congested |
| Parallel | Two opposing cabinet runs | Efficient in long rooms; provide at least a 42-inch work aisle for one cook |
| Island | A separate work surface inside the room | Only with enough surrounding space for doors, drawers and two-way movement |
Use at least a 36-inch walkway, 42 inches between opposing work counters for one cook, and 48 inches for multiple cooks. Measure from the furthest projecting handle, open drawer or appliance door; an apparently wide aisle can vanish when the dishwasher opens.
Put the refrigerator at the work zone’s edge with about 15 inches of landing counter, so others can retrieve food without crossing preparation. Place the dishwasher beside the sink. If accessibility matters, plan a 34-inch-high work surface and its clear approach before selecting standard modules.
Size Storage Around the Items You Actually Handle
Measure the items before ordering cabinet modules. Record each item’s width, height, depth, weight and frequency of use, then size the storage around the largest piece rather than a generic schedule. This prevents pressure cookers, kadhais, tawas, mixer-grinders, spice containers and tall oil bottles from migrating onto the worktop.
- Use shallow drawers for cutlery, spices and everyday utensils so one layer remains visible; reserve deeper drawers for pots and appliance parts, with drawer depths set by the actual contents.
- Put cookware in full-extension drawers or pull-outs, not behind a hinged door. You can lift one pan without unloading a stack.
- Add vertical tray dividers for tawas, baking sheets and chopping boards. Horizontal stacking turns the item you use most into the one you cannot reach.
- Specify a narrow bottle pull-out beside the hob for oils and sauces, with enough height for the tallest bottle.
- Plan pantry shelves around container heights, leaving only a small hand clearance above each level. Adjustable shelves prevent half-empty shelves from becoming dead space.
- Use tall units for bulk dry goods, brooms or rarely used appliances, but keep heavy rice and flour containers between knee and shoulder height.
- Treat corner units as a retrieval problem: use a carousel, drawer corner or a fully opening mechanism instead of a fixed deep shelf.
Keep cleaning chemicals in a separate under-sink zone, with a removable tray, leak protection and space for waste bins. If wheelchair access is required, design the clear approach and the 34-inch maximum work-surface height before fixing cabinet sizes.
Resolve Appliance Workflow, Ergonomics and Ventilation Before Cabinetry
Fix the sequence before fixing cabinet widths: refrigerator to preparation surface, sink to waste point, then hob, with the dishwasher beside the sink.
1. Put the refrigerator at the edge of the work zone so its open door does not block the main aisle. Add about 15 inches of nearby landing space for groceries and ingredients. Keep it out of the direct path between sink and hob in an open kitchen.
2. Give the sink about 24 inches of continuous counter landing space on one side and 18 inches on the other. Place the waste and recycling bins within one step of the sink and preparation area. Dishwasher placement belongs beside the sink, close enough for scraping and loading without crossing the cooking zone.
3. Provide about 12 inches of landing space beside one side of the hob and 15 inches beside the other. Check appliance clearances around walls, tall cabinets and combustible finishes against the appliance manual.
Two regular cooks need two preparation positions, or one deliberately wide shared surface that does not force one person behind the cooktop user.
4. Set counter height against the primary user’s elbow height and tasks, not a fixed standard. A lowered chopping section or separate mixer station can reduce strain, provided it preserves landing space.
5. Choose the range hood for the hob, frying frequency, grilling and wok use. Confirm mounting height, duct diameter, maximum duct length and make-up-air needs before designing overhead cabinets. Ducted exhaust removes moisture and particles more effectively than recirculation, but apartment shafts, façade, fire-safety and association rules may prohibit it.
Turn the Plan Into a Zone-by-Zone Brief for Drawings and Pricing
A price is only as reliable as the information behind it. Give the designer or manufacturer a measured room plan and a zone-by-zone kitchen brief before requesting drawings or a quote.
1. Provide wall-to-wall dimensions, ceiling height, window and door openings, sill heights, beam drops, columns, floor levels and service-shaft locations. Mark appliance clearances and circulation widths on the plan.
2. Label each zone: food storage, washing, preparation, cooking, serving and cleaning. For every zone, state the user, task, stored items, preferred access and required cabinet type.
3. Attach an appliance sheet listing brand, model, width, depth, height, ventilation clearance, door swing and power load. Include the hood’s required mounting height, duct diameter, maximum duct length and make-up-air requirement.
4. Mark electrical points with circuit loads and heights, plus plumbing points for the sink, dishwasher, water purifier, refrigerator supply and waste line. Confirm whether the hood can be ducted under apartment, shaft and association rules.
5. Turn the inventory into a cabinet schedule showing module width, depth, height, drawer or shelf count, hardware, finish, edge profile, handle type and internal accessories. Include dedicated dimensions for pressure cookers, kadhais, mixer-grinders, spice containers and tall bottles.
6. Record accessibility requirements before selecting standard modules, including a 34-inch maximum accessible work surface and clear approach space.
Design Doves can use this information to coordinate elevations, sections, service drawings and a fabrication-ready quote. Approve those drawings, finishes and point locations before production.
Frequently asked questions
How do I plan a modular kitchen around my cooking habits?
Record who cooks, meal frequency, cuisine, appliance use and the number of people working in the kitchen. Use this information to place frequently used items near the zones where you handle them.
What should I measure before choosing a kitchen layout?
Measure wall lengths, ceiling height, doors, windows, plumbing points, electrical points, gas connections and obstructions. Also measure appliance dimensions and leave room for doors, drawers and clear walkways.
How should I organise storage in a modular kitchen?
Create a real inventory of cookware, dishes, ingredients, appliances and cleaning supplies. Assign each category to a storage zone, placing heavy or frequently used items where you can reach them safely.
What kitchen clearances and workflow details need attention?
Plan connected washing, preparation and cooking zones, then check that appliance doors and drawers open without blocking movement. Resolve ventilation, electrical loads, plumbing and appliance access before finalising cabinet drawings.