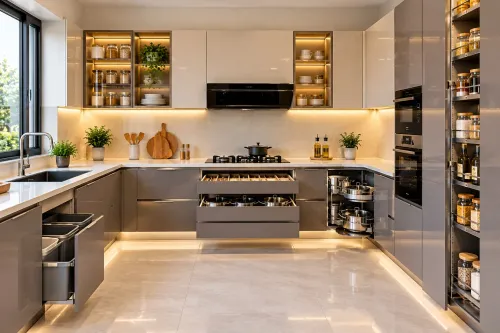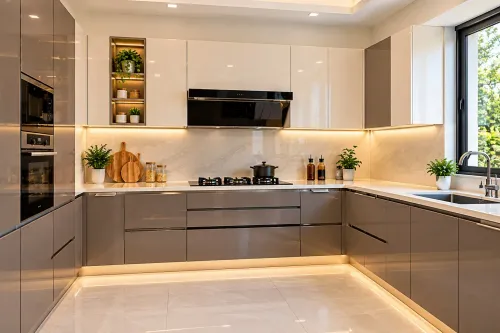
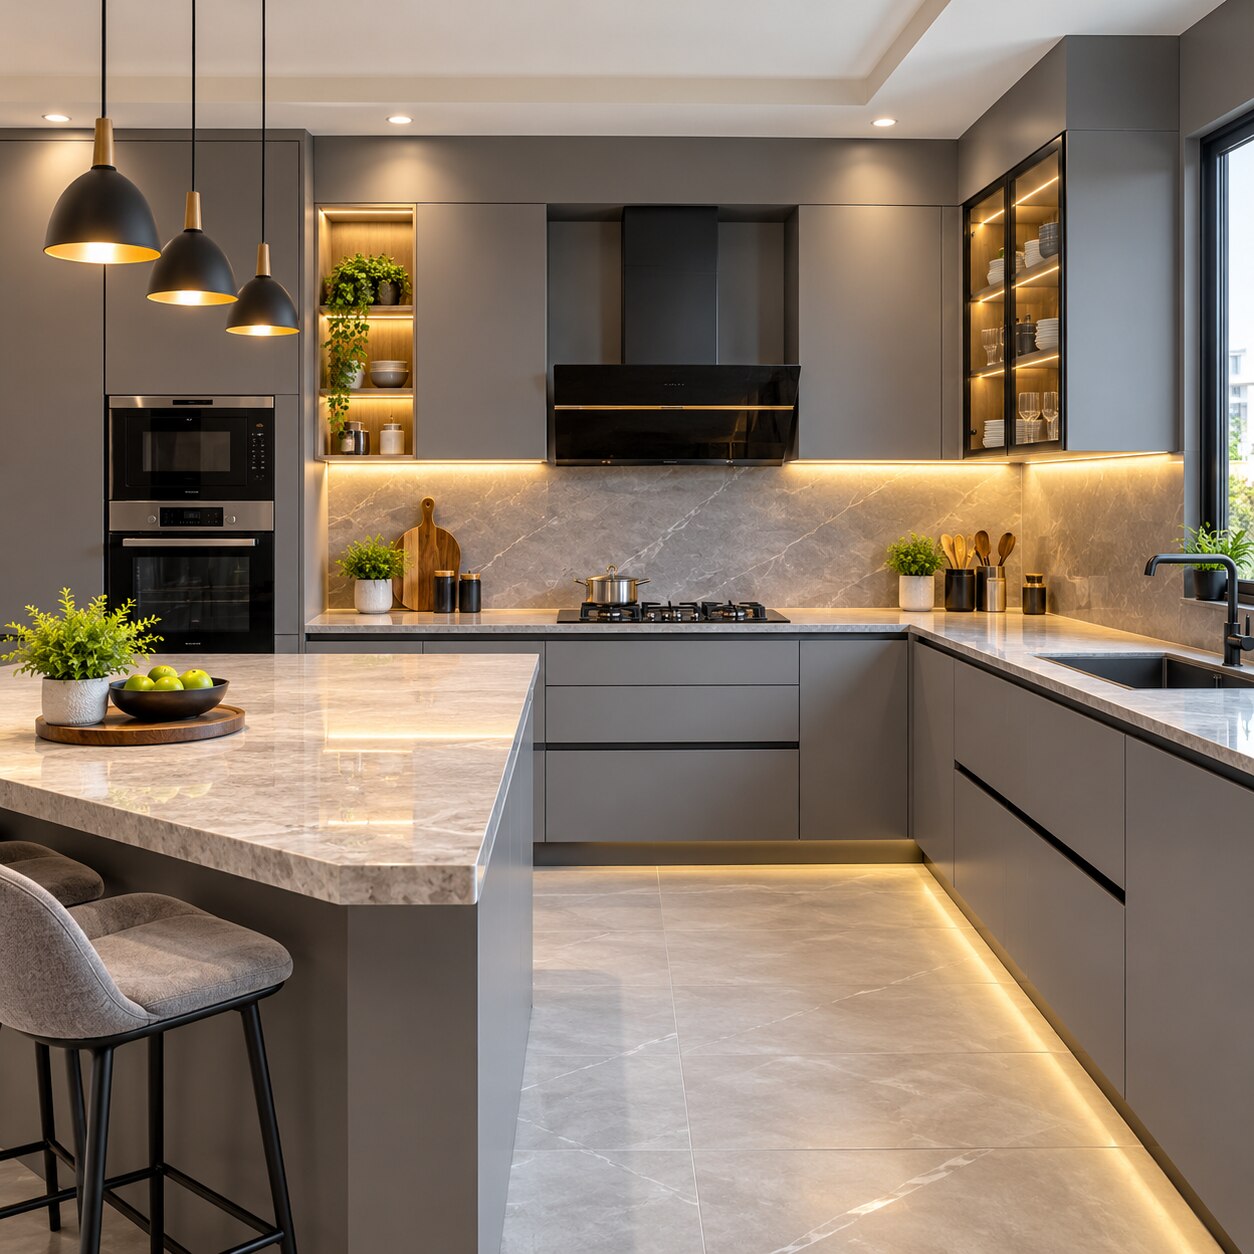
Grey cabinetry can make a kitchen look spacious and calm, or cold, dim and visually flat, depending on its undertone, sheen and surrounding materials. By the end, you will be able to match the cabinet shade with a practical countertop, specify layered lighting and coordinate every visible finish with confidence.
Key takeaways
- Choose light grey satin or matt cabinets for small, poorly lit kitchens.
- Compare countertops by stain resistance, heat tolerance, maintenance and edge durability.
- Add wood, brass or warm-white elements to prevent grey cabinets feeling cold.
- Use ambient, task and accent lighting to reveal grey surfaces accurately.
Choose the Grey Cabinet Shade and Sheen for the Room
For a small or poorly lit kitchen, choose light grey cabinets in a satin or matt finish: they reflect enough light without the glare of full gloss. White cabinetry makes the room feel largest and brightest, but it gives less visual warmth and exposes dirt quickly.
| Shade | Perceived effect | Best use |
|---|---|---|
| White cabinetry | Maximum brightness and visual width; crisp contrast | Dark rooms or compact galley layouts |
| Light grey cabinets | Airy, softer brightness with more depth | Small kitchens needing a balanced neutral |
| Greige grey cabinetry | Warm, settled and less clinical | North-facing rooms with cream, beige or walnut nearby |
| Charcoal grey kitchen | Dramatic, grounded and visually smaller | Large or well-lit rooms, preferably on lower cabinets |
Blue-grey needs care: in a north-facing or low-daylight room, it can make walls and cabinets feel colder. Greige grey cabinetry or a warm grey usually sits more comfortably with cream, beige, walnut and brass.
Choose gloss when every extra reflection matters in a compact room, but expect fingerprints, substrate ripples and sharp reflections from spotlights. Satin hides handling better while preserving a gentle lift; matt gives the calmest appearance but can absorb light. Use broad, diffused lighting with glossy doors.
Judge the doors beside the countertop and backsplash in the actual kitchen at morning, afternoon and night, not from a small showroom swatch. A subtle veined white, greige stone or warm concrete-look counter prevents a single grey block; match the vein scale to the door and backsplash size.
Compare Countertops by Performance, Not Colour Alone
Mark the cabinet plan before choosing a slab: reserve one uninterrupted preparation zone beside the sink and another beside the hob. Dividing the worktop into short sections creates more seams, interrupts food preparation and makes a grey kitchen look visually restless.
| Material | Performance and upkeep | Best fit for budget and layout |
|---|---|---|
| Quartz countertop | Low porosity, routine sealing is not normally needed; use trivets and protect it from prolonged direct sunlight. | A practical choice for busy kitchens with long runs and moderate-to-high budgets. |
| Granite countertop | Strong heat resistance and varied patterns, but absorption differs by stone. Request an absorption or sealer test and follow the specified resealing schedule. | Good for heat-heavy layouts when the selected slab passes testing. |
| Marble countertop | Cool, distinctive veining, but it scratches and etches from acids such as lemon juice. | Suits careful users and statement islands, not low-maintenance preparation zones. |
| Porcelain slab countertop | Highly heat- and stain-resistant, though large slabs need skilled handling and precise edge detailing. | Useful for sleek, expansive layouts when fabrication and transport costs fit the budget. |
For colour, pair warm grey or greige cabinets with creamy white, taupe, walnut-toned or softly veined slabs. Blue-grey cabinets work better with white, pale grey or restrained charcoal, but a dark slab can reduce visual brightness.
Budget for more than the material: cut-outs, edge profiles, supports, joins, transport and installation affect the final cost. A marble countertop may also require more care, while a laminate or solid-surface worktop can lower the initial spend. Pair the chosen slab with a large-format backsplash to reduce grout cleaning behind the sink and hob.
Build a Warm, Cohesive Palette Around Grey Cabinets
Test the palette against the actual floor, appliance finishes and wall colour, not a white showroom wall. Stainless steel, black glass and warm brass change how grey looks, while cream paint or walnut flooring can make the same cabinet appear warmer.
- With a warm grey kitchen, pair a cream, putty or soft-white wall with a greige, warm-white or lightly veined backsplash. A pale stone or warm concrete-look worktop prevents the room becoming one flat block of grey.
- Keep a grey kitchen backsplash practical: choose a large-format slab or tile behind the hob and sink to reduce grout. If you use smaller tiles, match the grout to the tile and specify a narrow, consistent joint so dirt does not create a patchy pattern.
- Ground the cabinets with natural oak, walnut or medium greige flooring. Black appliances and black handles create a crisp, graphic scheme; stainless steel softens it. Use brass handles, a brass tap and a warm metallic sink only when the floor or lighting also carries warmth.
A blue-grey kitchen suits blue-white, pale stone or muted greige walls, but avoid combining it with stark white, blue-toned flooring and very cool light. That combination can look clinical and make the cabinets appear more blue than the sample.
Choose one metal finish for handles, tap and appliance details, then repeat it at least twice; these grey kitchen colour combinations will look deliberate rather than assembled. View every sample in morning, afternoon and evening light.
Use Layered Lighting to Make Grey Surfaces Read Correctly
Choose one kitchen lighting colour temperature throughout the main fixtures so grey doors, worktops and splashbacks do not shift between blue, green and brown. Use 2700–3000K warm white for a relaxed residential appearance; choose 3500–4000K neutral white when you want a crisper, more daylight-like preparation zone.
Very cool light can make blue-grey cabinets look harsher than they appeared in the showroom.
Use separate layers rather than one powerful ceiling fitting:
- Ambient light: place dimmable ceiling downlights or a diffuse ceiling fitting across walkways, not directly behind your head at the worktop.
- Task light: install under-cabinet LED lighting beneath every wall unit, with the strip positioned near the cabinet’s front edge so light reaches the worktop instead of illuminating the backsplash alone.
- Accent light: add low-level illumination inside glass-front or open units, then switch it separately for evening use.
Specify a continuous LED strip with an aluminium profile and opal diffuser. The profile controls heat and the diffuser removes bright dots reflected in polished countertops. Select a colour-rendering index of at least 90 for task-lighting zones; high lumens alone do not ensure that food, stone or cabinet colours look accurate.
Use the same temperature across ceiling and under-cabinet fittings, and include dimming with separate switches. Mixed colour temperatures can make adjacent grey surfaces appear mismatched, while dimming lets one scheme suit chopping, entertaining and late-night visits.
Turn the Design Into a Precise, Durable Specification
Approve the kitchen only when the drawing, material schedule and installation notes agree. The specification must identify dimensions, finishes, lighting, hardware, service points and who is responsible for each measurement; attractive grey samples cannot expose a leaking sink unit or a badly supported slab.
1. Ask the designer to confirm cabinet dimensions, appliance clearances, filler panels, handle positions and the exact grey finish under 2700–3000 K lighting. Approve full-size samples of the cabinet, countertop, backsplash and floor together in the actual room.
2. Ask the fabricator to specify moisture-resistant MDF for doors and carcasses, sealed cabinet edges, edge-banding colour, internal shelf thickness and protection at sink-unit joints and the dishwasher side panel. “Moisture-resistant” is not waterproof: standing water and steam still cause swelling.
3. Confirm the countertop slab thickness, support requirements, edge profile, countertop seams and seam locations. Require a measured template for sink and hob cut-outs, plus reinforcement around both openings; porcelain and sintered stone resist heat and stains but chip under careless cutting or transport.
4. Ask the installer to record wall irregularities, plumb lines, levelling, service openings and final silicone details before fixing units. Confirm backsplash joint width and grout colour, then test every door, drawer, appliance and light after installation.
Design Doves can add value during this handover by coordinating design and manufacturing drawings, but you still need the signed specification and site measurements before production. A verbal assurance will not resolve a seam placed over the dishwasher or a cabinet edge left beside the sink.
Frequently asked questions
Which grey cabinet shade and sheen suit a small or poorly lit kitchen?
Choose light grey cabinets in a satin or matt finish. They reflect useful light without the glare of full gloss.
How should you compare countertops for a grey modular kitchen?
Compare stain resistance, heat tolerance, maintenance, scratch resistance, seam visibility and edge durability rather than colour alone.
How can you make a grey kitchen feel warmer?
Build contrast with warm wood, brass or bronze hardware, warm-toned flooring and coordinated backsplash finishes.
What lighting does a grey modular kitchen need?
Combine ambient ceiling lighting, task lighting beneath wall cabinets and accent lighting to improve visibility and show the cabinet colour accurately.